Your first manuscript
This page walks the empty case end to end: a new project, a manuscript, a part, a chapter, a scene, and one of every Story Bible record type. Nothing between opening Sgeulai for the first time and having a working book is left to guess at.
1. Start the project
The welcome window offers New Story Bible — an empty bible and a manuscript to fill it from. Choosing it is the same as ⌘N from anywhere in the app. If the welcome window is not showing, find it again under Help ▸ Welcome to Sgeulai.
A project can hold more than one manuscript sharing one Story Bible — a trilogy, a series — but it starts with none. The next step adds the first.
2. Add a manuscript
The New Manuscript button in the binder toolbar (the document-with-a-plus icon) opens a short sheet with two starting points:
- Blank manuscript — one starter chapter, "Chapter 1", ready to write into.
- Book template — a structural scaffold to rename rather than build from nothing.
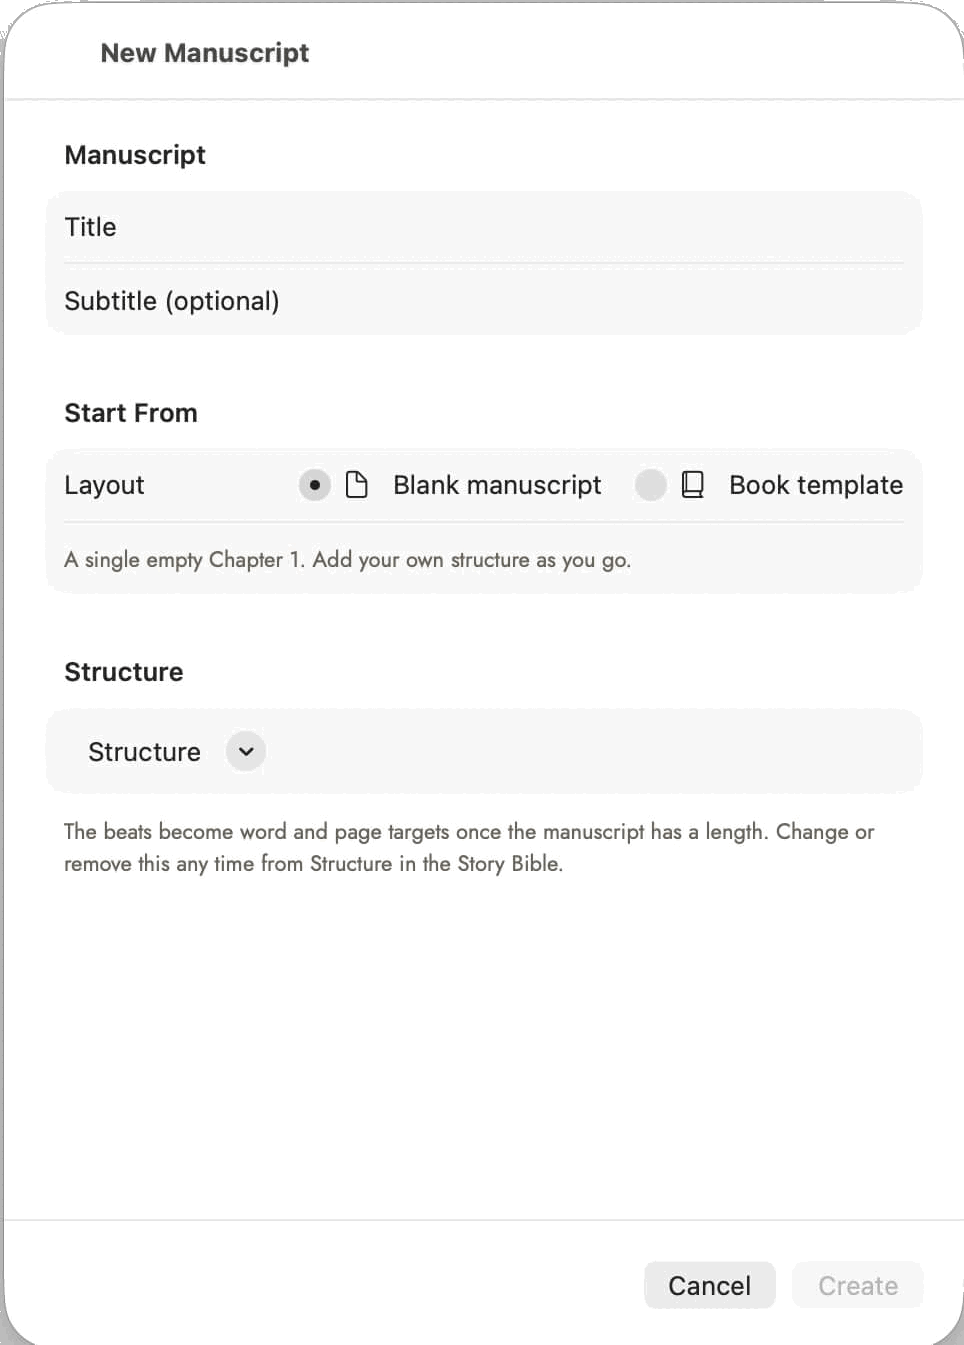 Structure is optional and reversible — the note under
it says so. Nothing here has to be decided now.
Structure is optional and reversible — the note under
it says so. Nothing here has to be decided now.
Either way, Create adds it to the binder immediately.
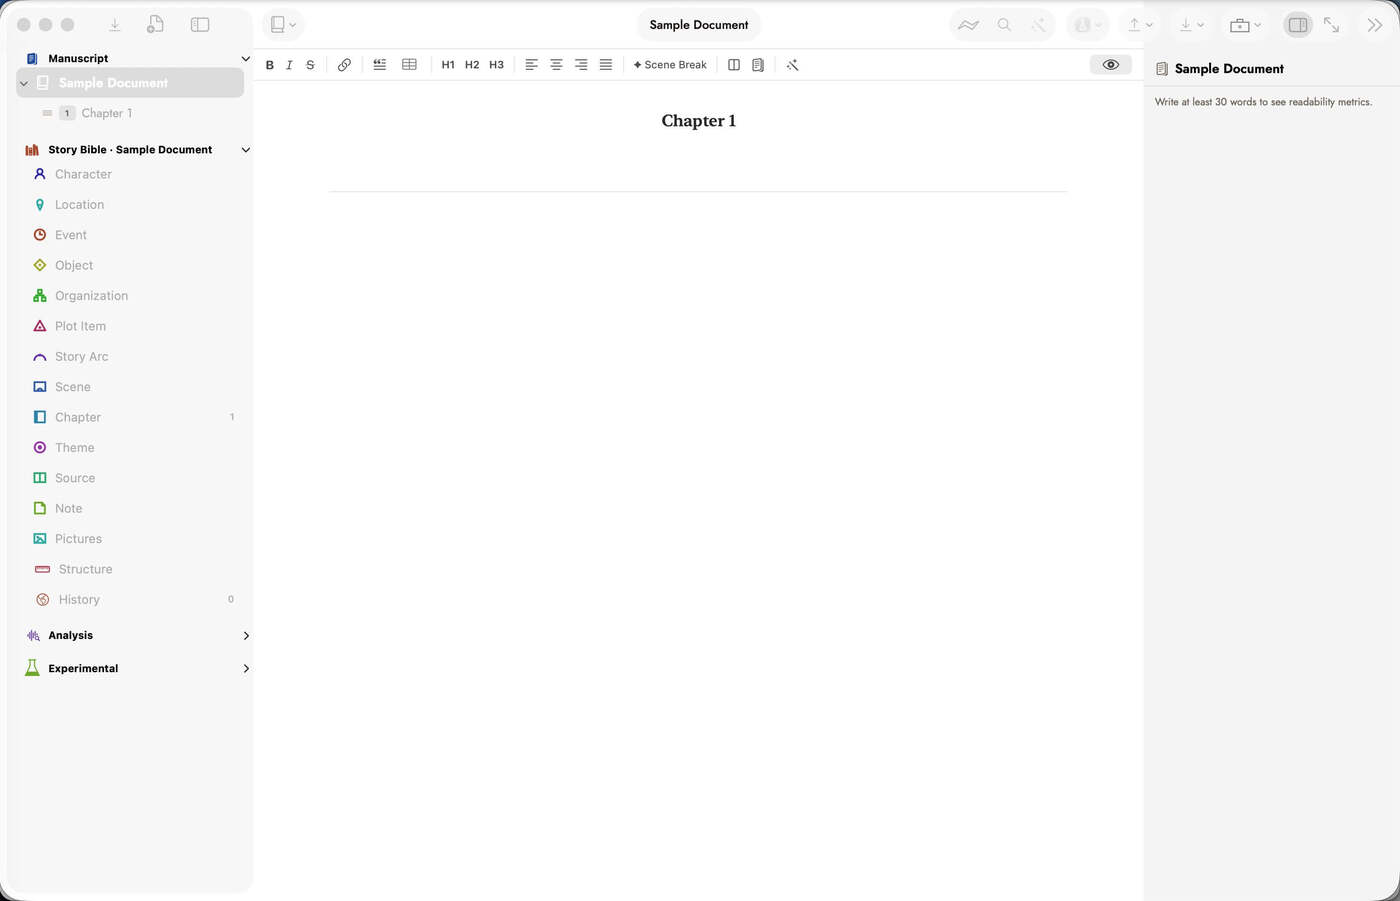 What a blank manuscript actually looks like. Every
count is zero but one, and the inspector is waiting rather than
empty.
What a blank manuscript actually looks like. Every
count is zero but one, and the inspector is waiting rather than
empty.
3. Add a part
A part is not a container you create and then fill — it is a name a group of chapters share. Right-click the manuscript's title in the binder and choose Add Part…, which makes a new part with one starter chapter already in it, ready to rename. See The binder for moving existing chapters into a part instead.
4. Add a chapter
Right-click the manuscript (or a part, to add the chapter there) and choose Add Section ▸ Chapter. The new chapter is titled "New Chapter" and lands at the end of the book — chapter numbering is fractional underneath, so inserting one between two others never renumbers the rest.
5. Add a scene
Right-click the chapter itself and choose Add Scene. A chapter is where a scene belongs, so that is where the option lives rather than in a separate menu. The new scene automatically shares the chapter's manuscript and is wired back to it — nothing further to connect by hand.
Scenes are optional too. Plenty of chapters are written straight through with no scene breaks; add them where a chapter genuinely turns a corner.
6. Add a Story Bible record
Every record type is created the same two ways, whichever type you are looking at:
- From the binder sidebar — right-click a type's row under Story Bible (Character, Location, and so on) and choose New Type.
- From the type's own page — open the type in the centre pane and use the New button in its toolbar, or press ⇧⌘N. An empty type's page offers the same action as its empty-state button.
| Type | What you'd use it for |
|---|---|
| Character | Anyone the book has an opinion about. |
| Location | Places, at any scale from a room to a continent. |
| Event | Something that happens, with a time in the story's own terms. |
| Object | Things that matter: an heirloom, a weapon, a letter. |
| Organization | Institutions, families, factions. |
| Plot Item | A thread: a question raised, a gun on the mantel. |
| Story Arc | A change over the length of the book, broken into ordered beats. |
| Theme | What the book is about underneath what happens in it. |
| Source | Research and citations. |
| Note | Anything that does not fit the others. |
Chapter and Scene are Story Bible types too — that is what the previous two steps actually created — which is why a scene record can hold a goal, a conflict and an outcome the same way a character record holds a fear and a wound. See The Story Bible for the full picture of what each type is for and how records connect to the prose.
7. Add pictures
Pictures are not a Story Bible record type — they live in their own library. Choose Pictures in the binder sidebar, then Add Pictures… in either the toolbar or the empty state, and pick image files. Dragging images straight onto the gallery works too.
Click a picture and press Space to see it full size in Quick Look, the way you would in the Finder; Space or Esc closes it. The arrow keys move the selection, left and right one picture and up and down a row, and the inspector and an open Quick Look window follow along — so one press of Space lets you walk a folder of scans, from the gallery or from the Quick Look window itself. In the search field or a caption the arrows still move the cursor. With more than one manuscript, the gallery follows the toolbar's Working on picker — see Which book the Story Bible shows.
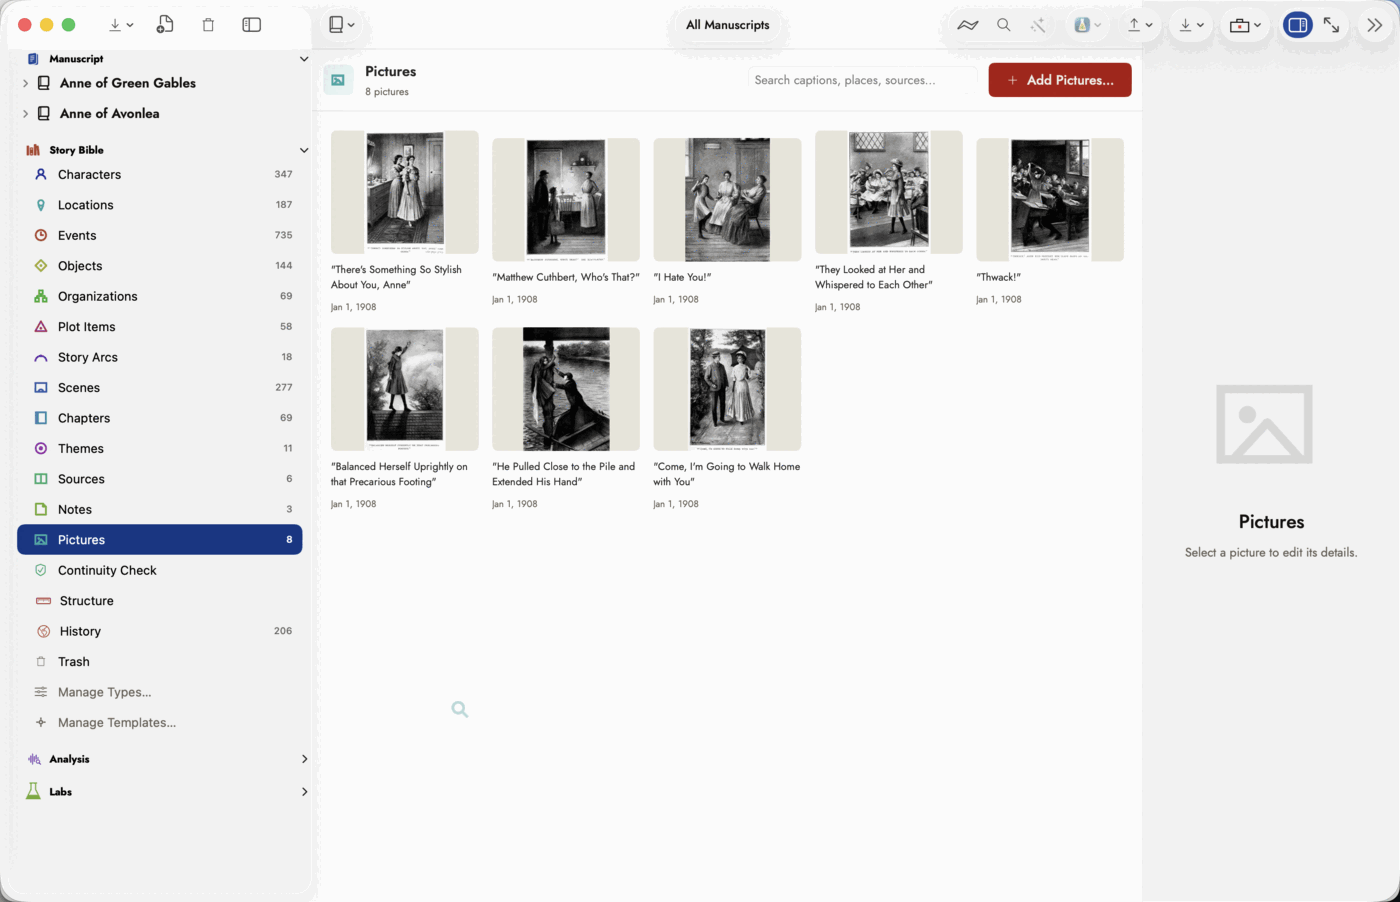 The library gets a count, a search box and a browser
like any binder row, and the same inspector every record type uses —
which is why it is easy to mistake for a record type. The empty pane on the
right is the tell: nothing to show until you pick a picture.
The library gets a count, a search box and a browser
like any binder row, and the same inspector every record type uses —
which is why it is easy to mistake for a record type. The empty pane on the
right is the tell: nothing to show until you pick a picture.
From here
That is the whole shape of a manuscript: parts and chapters and scenes in the binder, records in the Story Bible, pictures in their own library. Everything else in Sgeulai — linking as you write, the analysis tools, reading the manuscript with AI — works on top of this same handful of building blocks.